How To Regrip A Putter Without Any Professional Help?
Last updated on August 16th, 2017 at 06:57 am
What tires are to a car grips are to a putter or any other golf club as a matter of fact. When they get worn out, they become less efficient. If you play 18 holes each week, you should be changing the grips once every season. But how to regrip a putter all by yourself? In this article, I’m going to discuss the step by step procedure of regripping a putter. You should know that a putter is not anything like the best driver for average golfers. What I mean to say is that it doesn’t offer the same powerful swing force as the driver. And this is why many golfers neglect to regrip their putters. But it’s necessary to change the grip if you want the putter to provide an excellent feel. So let’s get to it then!

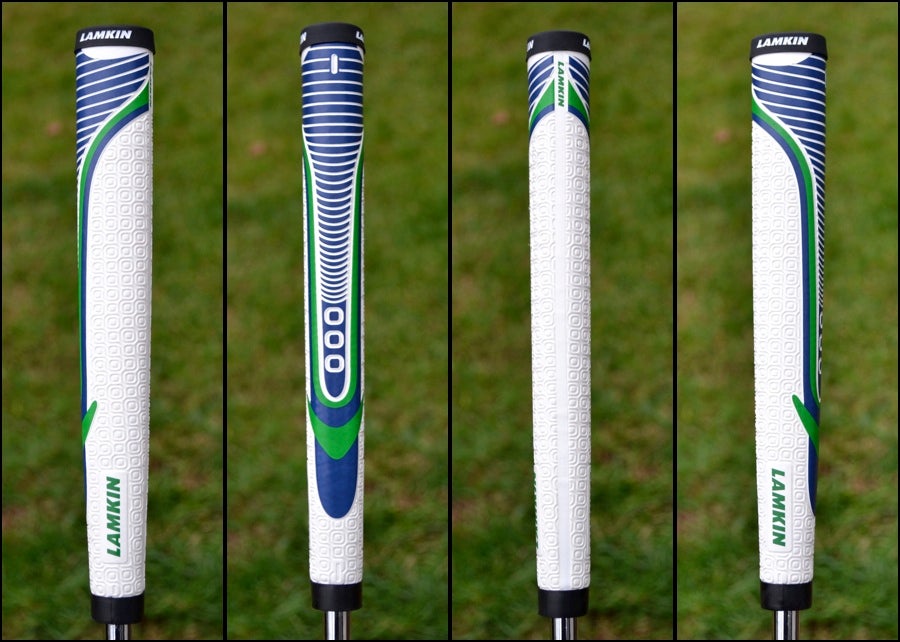
Photo credit: forum.mygolfspy.com
How to Regrip a Putter: What You Will Need
- Double-sided putter grip tape
- Putter grip solvent (100 ml)
- Utility knife
- Bucket
- Cloth
- New grip for the putter
The Method

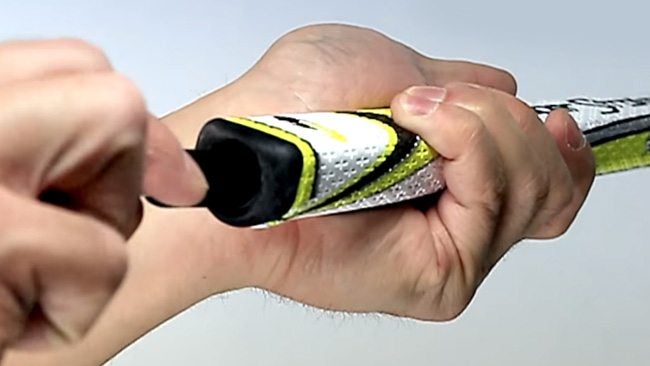
Photo credit: superstrokeusa.com
- Remove the old, worn out grip
With the utility knife, start cutting from the bottom in a straight direction towards the top. While doing this, please make sure that the knife is at a safe distance from your body.
- Clean the under-grip shaft area
Pull away or scrape the old putter grip tape present in the grip region. You can use the knife for this purpose as well. But again, keep it away from the body
- Wipe the shaft area clean
Now is the time to use that putter grip solvent to clean the shaft. Pour some solvent on the towel or piece of cloth to get rid of the adhesive and tape leftovers. The goal is to keep the shaft completely clean before installing the new grip.
- Wind the new putter grip tape around the club’s shaft

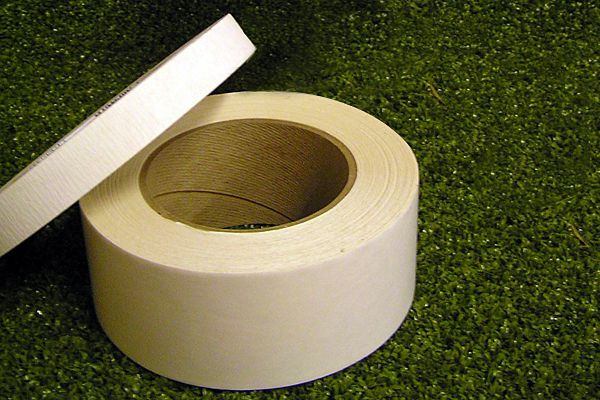
Photo credit: golf-explorations.com
Golf club grip manufacturers send sufficient amount of tape to make the regripping process easier and more convenient.
In a spiraling motion, the wind that grips tape around the putter’s shaft. Don’t forget to maintain even space between each layer and avoid overlapping the layers. It depends on how much thickness you want your grip to offer. The best way to go about it is to leave a little bit of gap between every wind of the tape.
Now it’s time to tuck the additional tape into the shaft’s end so as to seal the whole thing up.
If you’re working with a 2 or 3-inch wide putter grip tape, then the method of sealing is slightly different. At such times, you need to tuck the length into the shaft vertically. Then fold the tape around to cover the entire shaft.
- Bring on the new putter grip
To begin with, eliminate the backside sealing of that double-sided putter grip tape.
Now, pour a little bit of the putter grip solvent onto the new grip. While doing so, place your finger on top of the hole towards the end to prevent leaking. What the solvent does is allow the putter grip to slide over the tape while activating the tape’s adhesive.
Next, place your finger on top of all the holes towards the end of the grip. Then turn that grip upside down to wash all the areas of the grip with the solvent.
Place a bucket under the grip during this particular step. Pour some solvent on top of the grip and onto the tape covering the shaft. The next step is to line up the front side of your putter. This way it is at a right angle to the face of the putter. Now you can easily slip that grip over the club’s shaft.
You need to be fast and firm while performing the above procedure. And don’t forget to use both your hands to push the grip on. The most efficient way to do this is to place the putter’s toe end against the wall. But if it still seems too difficult to get on, the chances are that you haven’t used enough putter grip solvent on that tape or inside that grip.
Push the grip onto the club’s shaft by keeping a firm hold on the head and placing the grip end on the floor. Use strong force to get the grip far onto the club shaft.
- Properly align the grip

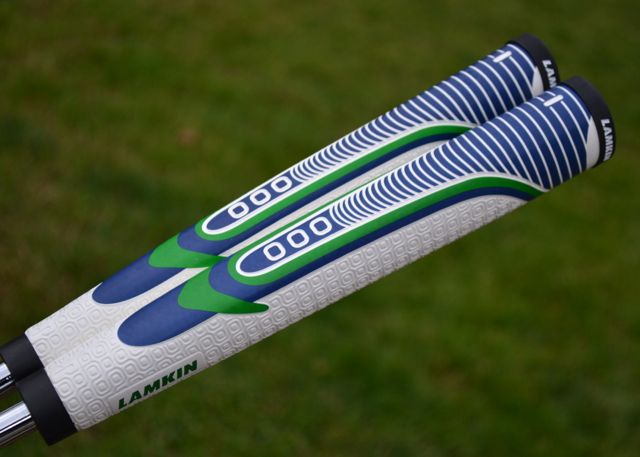
Photo credit: forum.mygolfspy.com
Now you know how to regrip a putter, don’t you? But that’s not it. You have to make sure that the grip is aligned correctly. And how do you do that? By looking down the grip’s front surface. If the clubface is not at a right angle to the grip front, then shift it to the left or right.
Also, the putter grip should be straight along the entire length of the shaft, not twisted.
The tape adhesive takes as long as four hours to dry completely
Wrapping It Up
The majority of golfers love walking on the course, don’t they? So they opt for the most comfortable golf shoes for walking. Likewise, if you want your putter to feel good and perform well, you need to regrip the club when required. Regripping once every year contributes to improving your putting skills as well. Check Out Best Putter Under 100$.
Do you know how to regrip a putter using any other method? How often do you regrip your golf clubs anyway?
Please do drop in your feedback in the comments section below.
I hope my step by step instructions were simple enough to follow. Thank you for reading the article.
Have a great day at the course!
Sources:
- http://golftips.golfweek.com/change-putter-grip-1552.html
- http://www.best-putter.com/regrip-a-putter.html
Categorised in: Tips

 Your Privacy Choices
1 Comment
We havw a new pro at my club and I asked him to fit a new grip on my putter. He aligned it (deliberately he says) a degree or two left of centre. When I pointed this out he says putter grips are always fitted that way. I never heard this before. Is this true or is it he just doesnt want to go to the trouble or expense of changing it.